Showing posts with label gardening 2010. Show all posts

Monday, November 15, 2010

Greatly Yield

I had heard that the first frost of Autumn was soon coming. This meant that I had to finish harvesting the rest of the veggies from my garden. Everything had to be picked before the frost spoiled the, as yet, unripened tomatoes, beans, etc.

From previous experience, I had learned that it is perfectly fine to pick tomatoes while they are still green. These green tomatoes will slowly ripen in my home and I can continue to enjoy them for many weeks to come.

After each section of my garden was harvested, the plants were pulled and the soil was raked flat again. A few weeks later, I had my annual Autumn ‘burn’ where I burned all the tree branches and other dried vegetation (plant stalks, etc) that I had collected since my last fire in the Spring. The ashes from this fire were spread over the area to add nitrogen to the soil for next year’s garden.

I thought that it would be fun to show you the photos of these proceedings and share the lyrics of one of my favourite Grateful Dead songs, at the same time…

Let It Grow

Morning comes

She follows the path to the river shore.
Lightly sung

Her song is the latch on the morning’s door.


See the sun sparkle in the reeds

Silver beads pass into the sea.

She comes from a town where they call her the Woodcutter’s daughter.
She’s brown as the bank where she kneels down to gather her water, and
She bears it away with a love that the river has taught her.


Let it flow, greatly grow, wide and clear.


Round and round

The cut of the plow in the furrowed field.
Seasons round

The bushels of corn and the barley meal.


Broken ground, open and beckoning to the spring,
Black dirt live again!


The plowman is broad as the back of the land he is sowing,
As he dances the circular track of the plow ever knowing
That the work of his day measures more than the planting and growing


Let it grow, let it grow, greatly yield.

What shall we say, shall we call it by a name,
As well to count the angels dancing on a pin.
Water bright as the sky from which it came,
And the name is on the Earth that takes it in.
We will not speak but stand inside the rain,
And listen to the thunder shouting I am! I am! I am! I am.


Nothin more

The love of the women, work of men.
Seasons round

Creatures great and small

Up and down

As we rise and fall.

These words sound so much nicer when heard within the structures of the song’s melody, so I’m including this link -http://www.youtube.com/watch?v=VYCJ5qkVqX8- to a really great live recording from 1989… ENJOY!!!!

This is what my kitchen looked liked, later that evening, after my garden was taken down for this year. The large potatoes and carrots were put into storage while I prepared this meal using all the ‘runts’ of my harvest :) The beans were steamed and the potatoes were mashed. I shredded the small carrots and added them to the mashed potatoes. The cherry tomatoes were sliced in half to show the interesting textures of their insides (with the seeds and all that) and placed decoratively around the rest of the meal. I always have fun when preparing my meals and it is especially more satisfying when I get to use the results of my labours… yummy vegetables!!!

Well, that is the end of my garden stories and pictures for this season and this year. I hope that you have enjoyed my successes and failures and I hope that I have inspired you to get a little Earth underneath your fingernails… next year!

Jim

Sunday, November 7, 2010

The Garden Harvest!

During the late part of June I wrote about an experiment that I had tried in my potato patch (in 2009) that had failed and how I was trying this experiment again, this year.

The idea, as it was explained to me, is simple…

When the potato plant reaches a height of 7 inches, 5 inches of soil is added around the plants. To keep the soil in place I used some round plastic barrels.

By doing this I was ‘tricking’ the plant into producing another set of potatoes in this added soil, thus increasing my harvest! The 2009 experiment failed cuz I had added the extra soil too late in the season.

This year, I kept a close watch on the growth of these plants and added the extra soil at the perfect time.

As you can see, the potato plants (and the rest of my veggies) grew very well! I had to find a new kind of patience as I waited and watched, waited and watched until it was time to harvest this crop.

When the potato plants started to die I knew that the harvest would be soon coming.

This seemed to take forever!!! :)

By mid-September all the plants had died and it was now time to dig up my potatoes!

I pulled the barrel sections out of the way and I became very excited. This was the moment that I had been waiting for!!!

Inside this pile of dirt I was going to find an extra crop of yummy potatoes!

With great care I started moving the soil aside. My eyes grew wide, awaiting the moment when I would see my first potato…

… but that moment never arrived! :(

My experiment had failed again. I’m not sure if I had done something wrong, if my timing was off again, or what the problem was. Hmmmmm! I’m going to have to rethink this whole idea and see if I can further these thoughts in my garden next year.

Well, that’s what gardening is all about… LEARNING… and enjoying all the trials and tribulations along the way. Failing isn’t failing if you’ve learned something, made genuine observations to enrich your knowledge about the processes of growing something. All of these actions help to connect your spirit with the Earth… and that is the most worthy of experiences!

After I had moved all of the extra soil away, I dug a little deeper to find the potatoes that I knew would be waiting for me. Boy! Don’t these look great!!!

I was very pleased to see that I had a rather nice sized tub of potatoes to show Joanne when she came home later that day.

Nothing tastes better than a vegetable that grew in your own garden. They are more flavourful, denser and full of more nutrients than anything you can buy in a grocery store - that has its produce transported from across the country or imported from overseas, thus needing this produce to be harvested early to prevent spoiling.

It’s very important that all humans become more conscious of where the food that we eat comes from. I’m very grateful for my garden and I’m also very grateful for the growing trends that are seeing more Farmer’s Markets popping up throughout the city. What I don’t – or can’t – grow in my garden I buy from these markets. If I can supply my needs for foods that embrace the ‘100 Mile Diet’ philosophy then I am lessening my ‘carbon footprint’ on this planet. Having a vegetable garden takes this idea one step further and I hope that I’ve inspired all of you to create your own ‘100 Feet Diet’ program.

Jim

Saturday, October 16, 2010

A Little Closer… A Little Closer…

I’ve been very happy with the success of my vegetable garden, this year. Since the middle of June (and for another few weeks) my dinner plate has been (and will be) served with wholesome and fresh veggies… and this brings a smile to my face!

Every once in a while, I write about the different elements that create interesting photographs. For today’s blog I thought that it would be fun to showcase some of my garden’s harvested vegetables while taking you on a step by step journey to understand some simple photographic techniques.

Step #1 – Subject

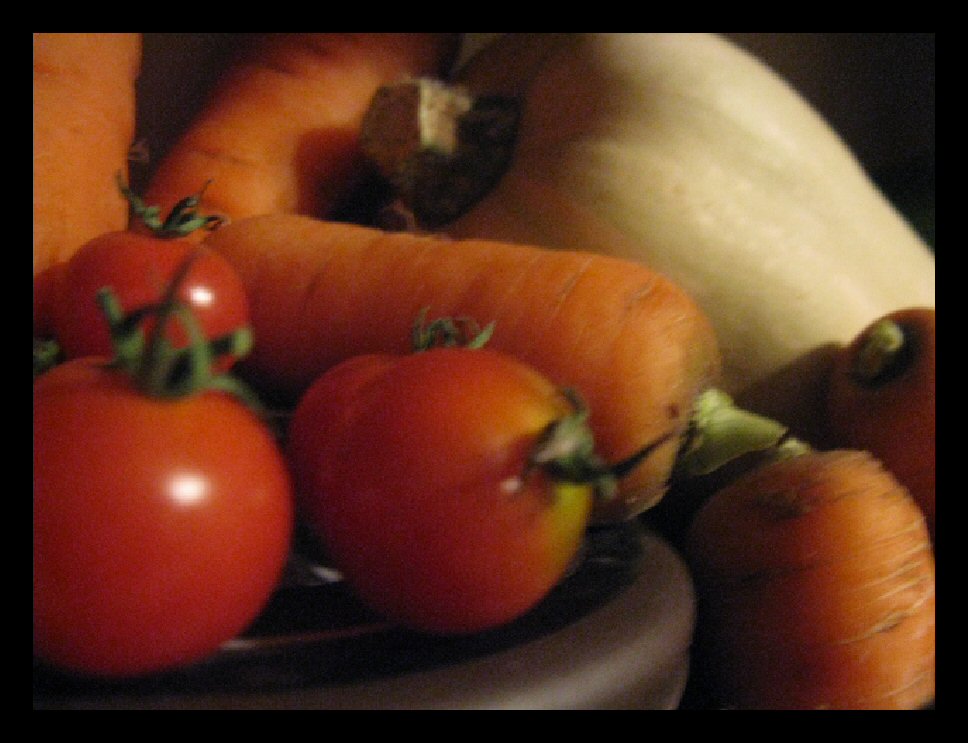
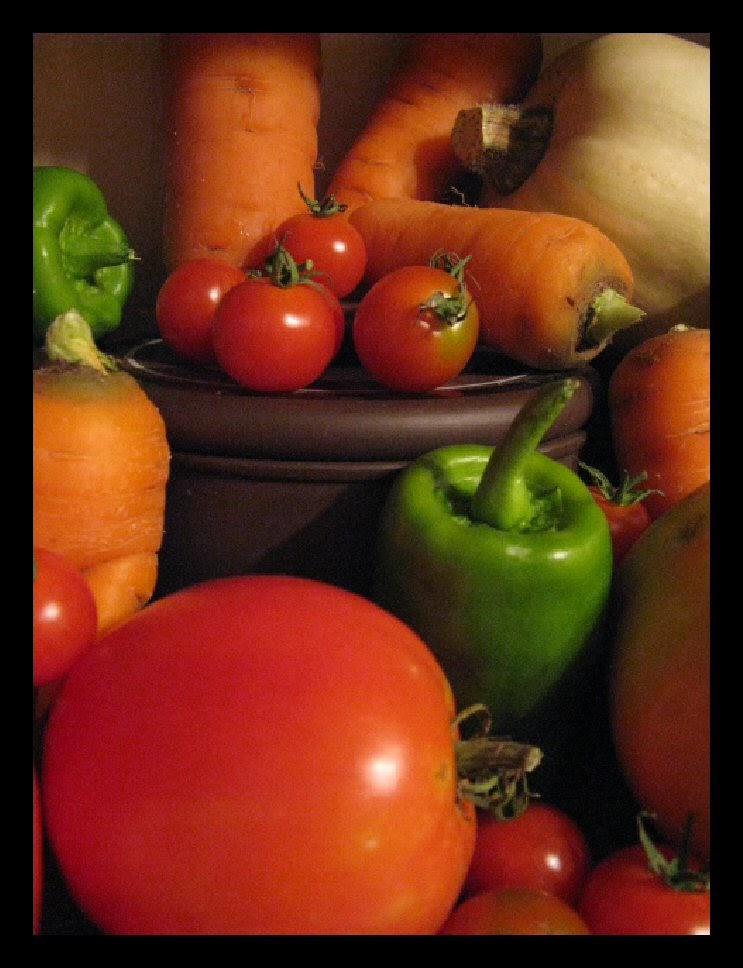
The subjects for this photo-shoot are some of my harvest veggies. It took me just a minute or two to make this interesting ‘set’ filled with a Butternut squash, tomatoes, cherry tomatoes, carrots and peppers.

Step #2 – Get Close

Have you ever noticed how many times you’ve seen a photo with the subject matter smack-dab in the middle of the frame with all sorts of wasted space surrounding the subject? By getting in closer, you can fill the frame with the entire subject of your interest.

Step #3 – Get Closer

At the beginning on any photo-shoot I like to warm up a little bit. I’m not yet focussing on the perfect composition, at this point, just simply getting comfortable behind the camera. I get closer and closer to my subject matter while slowly moving my camera around and this allows me to become a bit more intimate with what I’m taking a picture of.

Step #4 – Composition

These simple vegetables are very interesting subjects to take photos of because there are so many wonderful curves, straight lines and angles to think about. Shapes, colours, foregrounds and backgrounds exist for the sole purpose of the photographer to manipulate while composing a perfect photo.

Step #5 – Move Around The Composition

If you compare this photo to the one above you will see that they are very similar. In this photo I’ve repeated ‘Step #3’ and I’ve gotten closer to my subject. The squash now appears on the right side while, above, it appeared on the left. Notice how the lid of the sugar bowl – at the bottom of this photo – helps to ‘ground’ the image by offering stability to the base of the photo while the slight curves of brown, black and white help to bring the viewers eye ‘into’ the image.

Step #6 – See All

Sometimes it’s difficult to see all that is happening while you are setting up a great composition. In this photo, I was concentrating so hard on capturing the interest shapes of the shadows as they curve up and around the carrots at the top of the image that I forgot to pay attention to my own shadow which ended up blocking the light on the tomatoes at the bottom of the image.

Step #7 – Be Patient

Be patient and let this experience bring you into a state of happiness. Throughout this story I’ve been sharing all the photos that I took during this ‘shoot’. This is the first one that I really like. With any photo-shoot that I do, I find that out of every 4 or 5 pictures I take only 1 will tickle my fancy and make me feel that I’ve done a good job.

Step #8 – Be Rewarded

I’m lucky to see that – this time – my average has gone up cuz this is the second – out of five – photo that I would classify as a success.

So, there ya go! A couple of easy steps to think about the next time you put yourself behind the lens of a camera.

After I’ve finished taking a bunch of pics, uploaded them onto my computer where I can resize them, enhance colours and add borders, I like to have a little fun trying out some of the ‘artistic effects’ that are available for me to use…

… so that I can turn an interesting photograph into an object d’art!

Be inspired! Enjoy the creativity that is inside you! Oh yea – and grow lot of vegetables to fill your heart and mind with the life-giving energies of the universe!!!

Jim

Tuesday, September 14, 2010

Two Snakes

(The Ground Beneath Our Feet)

As soon as the winter snows had melted and my flowerbeds became visible again, I was in the garden planning, digging and moving flowers. It is such a joy to watch all of the little buds grow into maturity throughout the spring and summer.

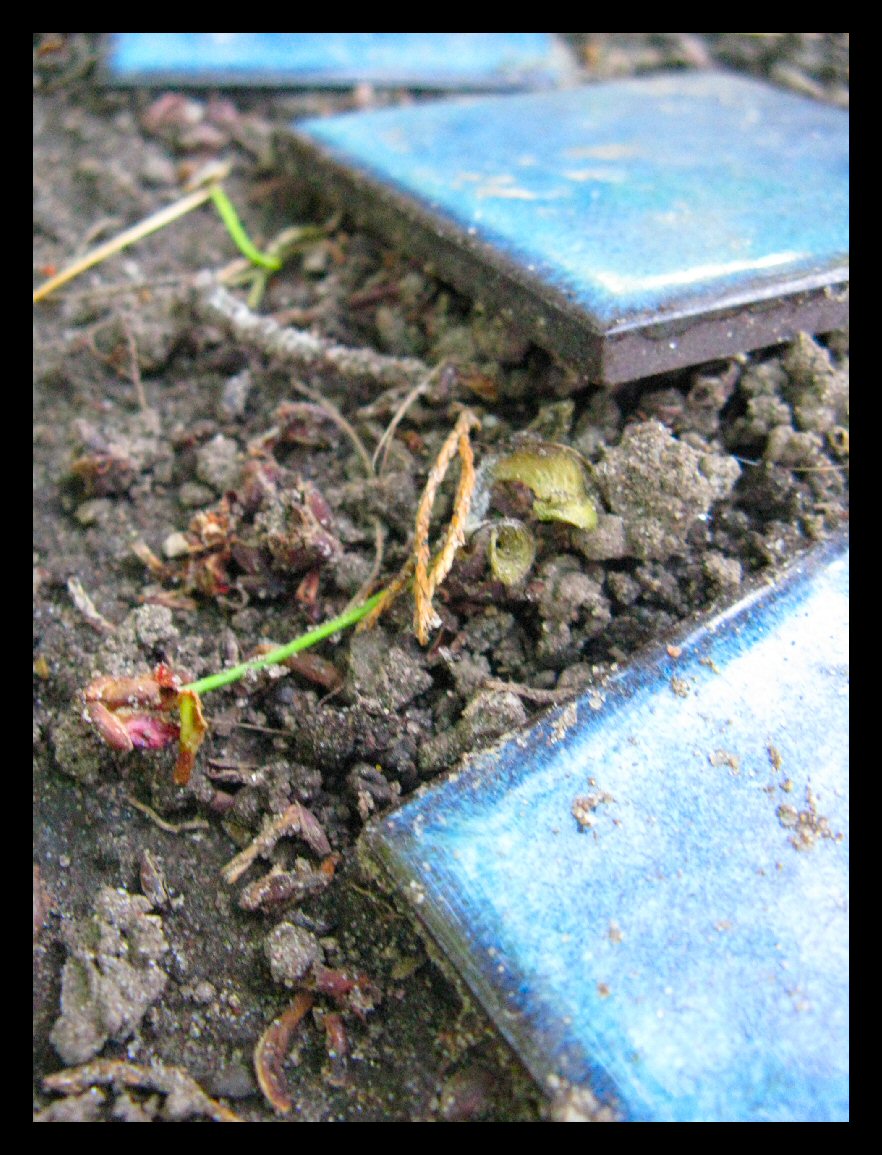
I went for a quick visit, up to my parents’ house, to steal some flowers from my mom’s garden to add to my own. While I was there my mom gave me a small box filled with small blue ceramic tiles. She thought that I might use them to build a tabletop, but I had a more fun idea…

I decided to use them to add a little splash of colour to my flower gardens. I like wiggly lines, so I placed the tiles in circles around some accent rocks and laid other tiles together to create flowing curves.

I had enough tiles to create designs in two of my flowerbeds. It wasn’t until afterwards that I noticed my designs resembled snakes. Since snakes are very respected creatures as guardians against mice, squirrels and other rodents, I thought that this would make a positive symbol – or totem – to ensure the success of my garden.

If you can imagine yourself being a mouse, wandering through my garden, and you’ve just pushed a few hostas aside, I’m sure you would think that you just crossed the path of this snake… before you turned around and fled for your life!!!

Another thing that I took note of, after the fact, was that I had created two snake guardians for my gardens - twin snakes, placed in a symmetrical formation. Since I’m a Gemini and symmetrical twins are my birth totems, I took this as another sign of good fortune for my flowers!!

Clearly, you can see the development of all the flowers in this garden, as you look from picture to picture.

The most significant growth can be seen when you look at the flowers that are near the top of these photos, at the base of the cedar tree.

I’ve mentioned, before, when talking about the transplanting of flowers, that the first year of growth is concentrated on root growth and healing.

This year, this garden had a few nice flowers, but next year this entire space will fill with lots of green leaves and many many flowers! Most of what you see in this photo will be double in size, next year. I can’t wait!!!

The most significant change in this series of photos, is found just to the left of the centre, near the grass border of the garden. In the first photo, you can see two very small plants. In the second photo, you can see that the plants have grown to about six inches and that small flowers are beginning to appear. In the third photo, these plants have tripled in size and they are absolutely full of flowers… Snapdragons that is!!!

This is one of the macro photos I took of the Snapdragons during the height of their bloom. Gorgeous n’est pas?!

One interesting phenomenon that I witnessed with these ceramic tiles is that they always seem to be on the move!

I placed the tiles in nice curvy lines, laid flat on the surface of the soil, but daily, I could see them moving ever so slightly.

After a few weeks, the snake designs almost became unrecognizable cuz the tiles had moved soooo much!

How could this be?

I thought that the rain may be to blame, partly. The movement of the rain water, both above and below the tiles may have caused some slight movement. I thought that worms and other underground insects and creepy crawlies might be causing the soil to move as they moved underneath the tiles. Even the sun, may be partly to blame. The sun warms and dries the soil surrounding each tile, but the tiles have cool, moist soil beneath them, so some kind of friction action may be occurring. I think that each one of these facts played a small role in this phenomenon, but then my mind expanded… I began to think globally!

I began thinking about the ever-changing flow of ocean waves. I remembered something from my high school science class, where we recognized that the air that we breathe flows around the surface of the Earth in similar patterns as ocean waves. I opened my mind to think that the entire surface of the Earth may be flowing in similar ways, though so much more slowly, and through this thinking I believe I came one step closer to understanding this phenomenon.

It was through these thoughts that I felt a deep connection with life and the Earth.

Funny – eh! It all started so simply… I started by planting flowers – thinking of their coming beauty and the joy they will bring to my life. I added a little art – to compliment and pay respects to Nature. I made an observation that puzzled me – keeping my humble for my limited knowledge. I went looking for answers – which took my mind and connected it with the heartbeat of the Earth. I found my devotion – to all of life’s mysteries. I became peaceful!

Jim
Wednesday, August 18, 2010

Zu-zu-zu-zucchini!!!

I love growing vegetables! Lots and lots of different kinds of vegetables! There is nothing more satisfying than watching the seeds that I so carefully bury beneath the soil turn into plants that provide my family with healthy foods.


This spring was a very busy time for me. The house that Joanne and I bought didn’t come with any vegetable gardens so I had to dig them in by hand. This took a lot of effort and when it came time to do the planting I realized that I still did not have enough space in my garden for all the vegetables that I wanted to plant.


I decided to use some of the available spaces that I found in a few of my flowerbeds. This small area was filled with many spring flowers, like Tulips and Daffodils, and by mid May they had all bloomed and died. I figured that this would be a great location for my squash and zucchini plants. I made sure that I created the planting locations where there were no flower bulbs hiding underneath the soil.


You can see that I created mini volcano-like holes in the soil to plant my seeds. I do this to conserve water. Water for these veggies is poured into these craters and soaks downwards directly to the roots of the plants.


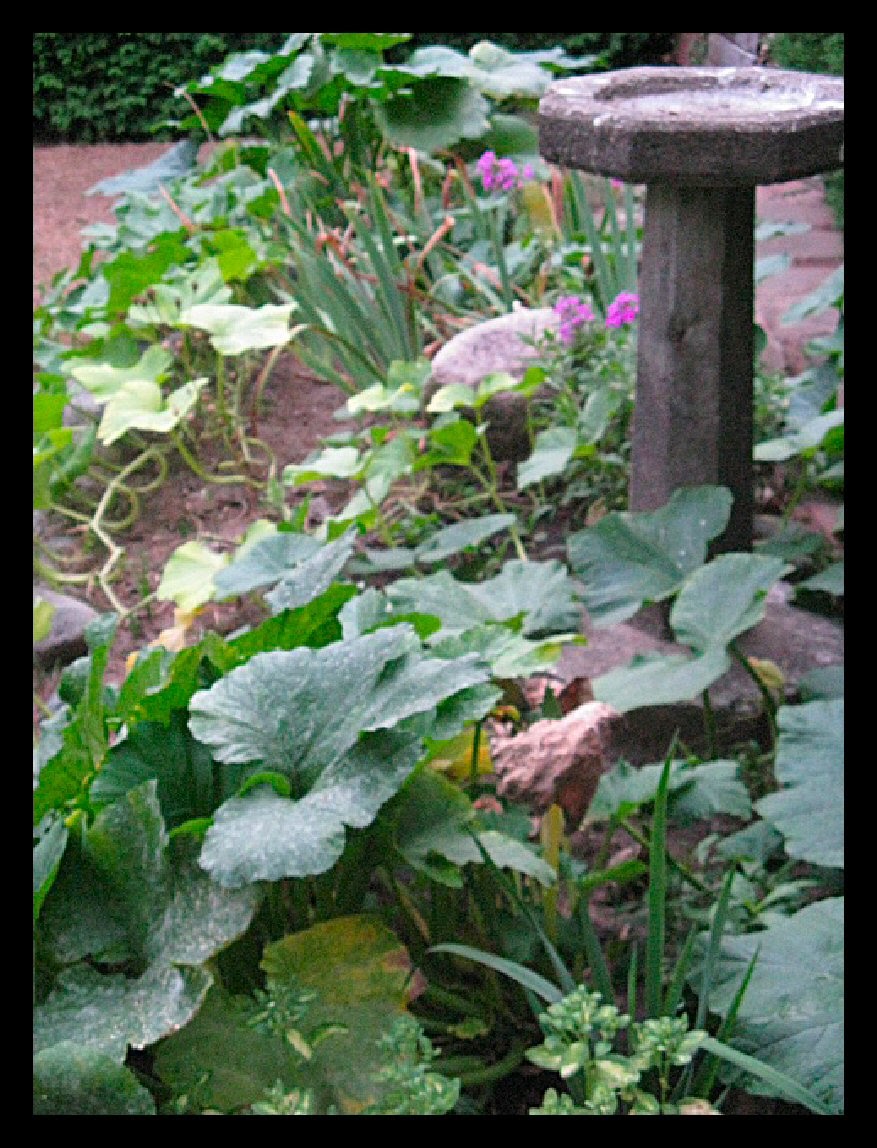
I must have done something right, cuz this is what this garden looks like, now! I’ve harvested many zucchinis, so far, and I expect many more of the next two months. The Butternut Squash plants are also doing very well. I like the small purple flowers that have added a splash of colour to this garden, too!


For story telling purposes I find that it is necessary to take – what I call – pictures, like the ones above. But when I’m inspired, I like to be a bit more creative with my camera to capture photographs, images that capture a mood and a texture, with heavy concentration on the composition for an enjoyable photograph…


Photography starts by first getting close to the subject matter.


And then you get a little closer, still. This can allow you to use macro settings on your camera.


Whenever possible, do not put your subject matter in the middle of your composition and remember to think about what’s in the background.


With zucchini season upon us, many people are looking for yummy recipes. I found one recipe – through the power of ‘google’ – and I’m going to share it with you…


Zucchini Loaf a la Jimbo

Ingredients


3 cups all purpose organic flour

1 teaspoon salt

1 teaspoon baking soda

1 teaspoon baking powder

3 teaspoons ground cinnamon

1 cup chopped nuts (walnut, almond, etc)

3 local farmed organic eggs

1 cup vegetable oil

2 ¼ cups white sugar

3 teaspoons vanilla extract

2 grated zucchini


Directions


Grease and flour 2 regular sized loaf pans and 1 mini pan

In a large bowl mix flour, salt, baking soda and powder, cinnamon and nuts

In a larger bowl beat eggs, oil and sugar together until creamy

To the liquid mixture add vanilla and grated zucchini

Turn oven to 325 degrees F (165 degrees C)

Add the dry ingredients to the liquid and mix thoroughly

Pour batter into the 3 pans and bake for 40 – 60 minutes (or until tester inserted into the centre of the loaf comes out clean)

Cool in pans for 20 minutes

Remove from pans to cool completely

Eat and enjoy!!!


I’ve gotten into the habit of freezing the two larger loafs so that I can enjoy them through the winter while I eat the small loaf over the next few days.


And don’t forget to share! With you neighbours, friends or co-workers – they’ll be very happy to learn that you can actually cook!!!


Here’s something so simple that you can also do with your zucchinis…


BBQ them!!!! That’s right! Just slice them about ¾ inch, sprinkle (in a bowl) with a bit of oil, add salt, pepper and other spices or herbs and toss them on the grill – about 3 or 4 minutes each side. Yum! Great with mushrooms and peppers, too.


Grow vegetables, eat healthy, bake happy and enjoy life!!!!


Jim


PS – Growing your own food also helps our environment. Think of all the transportation trucks that WILL NOT be needed to transport food, if you and your neighbours all grew a little something and shared with each other. :)


Here’s another Earth saving tip…


Many people think that just by turning off appliances that are not in use, that they are saving electricity and our environment. This does help, but any electrical appliance will still be drawing electricity simply by being plugged in. A computer scanner plug in actually gets warm, just by being plugged in. Think how much energy is needed to actually warm up a plug! So… when you are not watching TV, or not using your computer or stereo unplug!!!!


‘Nuf said